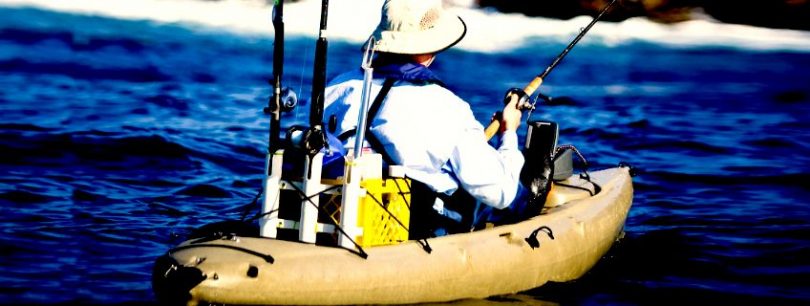
Everyone possibly knows kayaking makes fishing an easier and thrilling task. But, what makes kayaking more convenient is a fishing rod holder. This lets the pole stay secured and closer to you and you can concentrate on paddling as well. They can be installed anywhere no matter what type of kayak you have and what the materials are.
When you install a rod holder for kayak fishing, you need to drill the places to assemble. If you are worried about drilling that ultimately will lead to leaking, you can also use marine sealant to seal to holes.
The whole installation process takes about 60 minutes. Let’s move towards the in-depth installation process.
Kayak Fishing Rod Holder Installation – 6 Steps
Step 1: Gather things required
The first step is to grab the stuffs you will require the whole time. So, the things you will need are:
- Rod holding kit
- Marine sealant
- Neoprene washers
- Drill
- Adjustable wrench
- Hole saw or jigsaw

Step 2: Choosing style
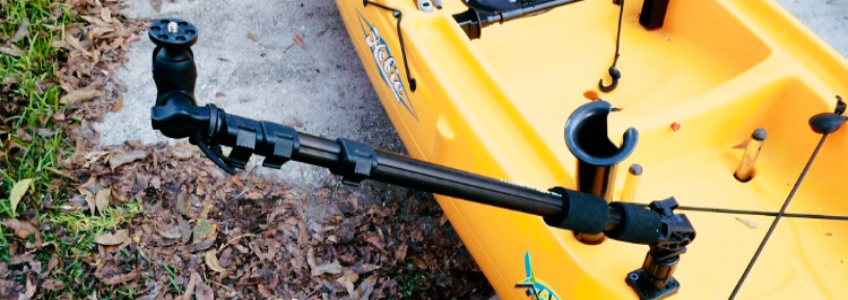
As soon as the above things are gathered, you can choose the style of rod holders that you want to install. You have to select one from the two styles: on the deck and through the deck.
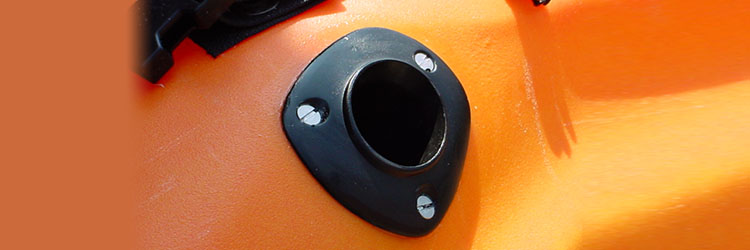
While on the deck style is appropriate for installing directly to the deck of the boat and protrude from the kayak, the through the deck is created making a large hole and sitting flush with the deck. Besides, the on the deck style can be formed into multiple positions and through the deck can be kept aside when not used.

Step 3: Selecting rod holders’ position
Our next task is to select the position of the rod holders. We would suggest you to install the on the front deck to keep the holders close to you to reach to it easily. You can also mount them on the rear deck but it will stay out of your reach. In case of through deck holder, go for flat part of the deck. For front deck area you should be aware of selecting a place that does not interrupts your kayaking or cause discomfort with your body position.

Step 4: Making holes to fix rod holders
You should make a hole of appropriate size by drilling decks to slid rod holders. First make a hole of approximate diameter and then correct the diameter of the hole in accordance with the diameter of the rod holder.

Step 5: Sealing holes
Use marine sealant to seal the hole in order to stop leakage. Also use marine sealant to cover the neoprene washers.

Step 6: Bolting rod holders
With the help of hardware that are in the kit, fix the rod holder with the deck by using bolt. Get to inner part of kayak and use neoprene washers made of stainless steel. Make sure to put extra sealant on outside and inside of the kayak before you fix the nuts completely. Tighten the nits afterwards.

So, these are the ways you can install a kayak rod holder. This will support your kayaking more than you would expect. Have a happy ride and stay safe!


Leave a Comment