

Are you afraid of hitting the road with your bike or kayak on your vehicle’s roof? If yes, what you need is a roof rack. It is true that most cars don’t come with a preinstalled roof rack. You should be happy if your car doesn’t come with one because you’ll learn how to fix it.
If you’re still confused about the best way to install roof racks over your vehivle, don’t worry, we’re here to help. We’re going to introduce you to how to easily attach and maintain a roof rack.
Install Roof Racks: A Step-By-Step Guide
Knowing the parts of the roof rack is the first step towards its installation. These parts include the mount, tower, crossbars, and accessories. The mount is the part of the rack that is fixed directly to your vehicle. The tower is what connects the crossbar to the mount. The rails on the roof are called crossbars. You need to attach the accessories to your crossbars to keep your load in place.
Here are simple steps on how and where to get a roof rack installed.
1. Determine the Equipment Needed
You need to check if your car comes with tracks or raised rail on the roof. With a track or raised rail, you’ll have no difficulty mounting the tower. This is because they already have holes that’ll aid your process of installation.
If the roof is naked, you’ll need a few crossbars, foot pack and a fit kit. Besides, you’ll need a roof adapter for proper distribution of weight. Especially if you’re using a small two-door vehicle.
2. The Roof Rack That Will Fit Your Car
The next thing is to determine the type of roof rack that’ll fit your car. Note that your vehicle’s model, make, and year of manufacture will determine the type of mount. Ensure that you’re choosing the right mount. It is worth knowing that the model of the car will influence the roof rack installation cost. And, don’t forget that a loaded roof rack will cost you more by causing a drag on fuel economy.
3. Assemble the Base Roof Rack System
Attach the crossbars to the side rails by using the screws. The next thing to do after the assembly is to raise it to the top of the vehicle. Before you screw it to your vehicle, take a measurement of the distance of the rail to the back and front of the roof. Ensure that the position of the rack aligns with the center of the roof.
4. Drill Holes If Necessary
You’ll not need to drill these holes if your vehicle comes with crossbars. But, if your roof is naked, you’ll need to drill holes on the roof. Now, you can insert screws on the drilled holes and tighten the roof rack to your vehicle.
5. Attach the Mount
Attach the mount to the crossbars at the position you desire. Ensure that you move from the rear to the front. The type of roof racks you’re using will determine where to attach the mounting clamp.
6. Mount the Rack
This is the main part installing a roof rack. Now, you’re ready to mount the cargo carrier to your vehicle. Ensure the position tightly so that it doesn’t come loose while you’re driving. Note that each rack has its load capacity, so, don’t overload it.
7. Choose Accessories
At this stage of learning how to install a roof, your target is to choose the right accessories. The function of these accessories is to make your gear/equipment accessible and protected. So, you’ll need a few rack pads, tie straps, locks, awnings, rooftop tents, etc.
Things to Keep in Mind Regarding Roof Racks
You should pay attention to the following tips before installing a kayak roof rack on your car.
- The roof racks are mostly available in pieces to help you choose the type that fits your vehicle.
- Each load has its specific gear adapter. Note that you’ll need different adapters for both kayak and bike.
- Security features like cable pass, keyed clamp, and installation tools will help protect your equipment from theft.
- Try and remove your roof rack if you’re not using it. This is because roof racks can affect your car’s aerodynamics which results in more spending for fuel.
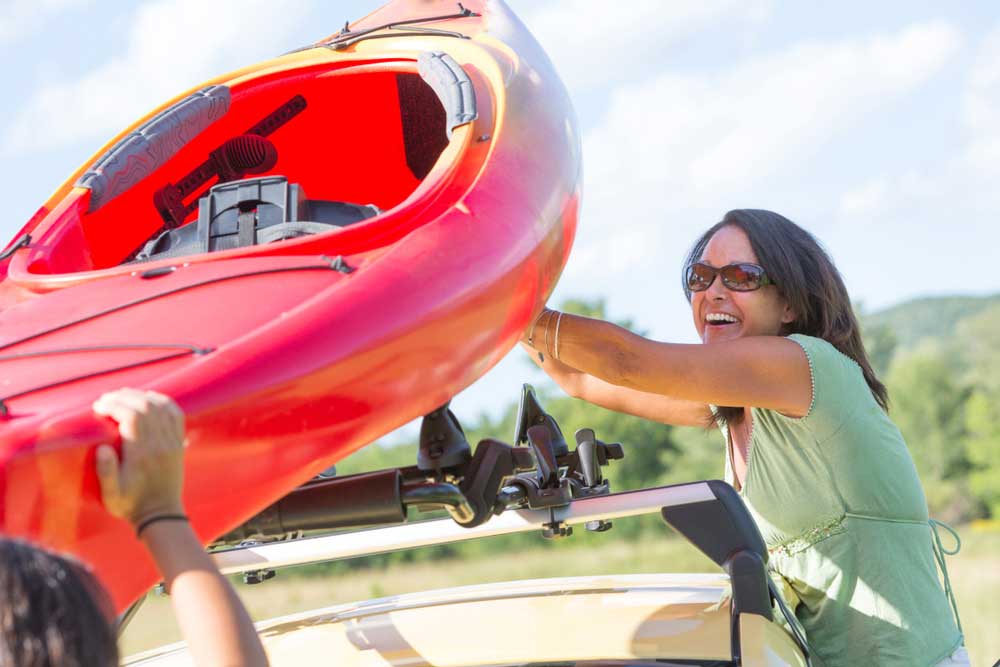
- Call for help when loading your gear especially if the load is heavy. This is to prevent any accident which might damage your car or hurt you.
Conclusion
Installing a roof rack on your car may sound difficult but you can complete the task in an hour. You don’t have to be a professional, you only need to follow the steps we’ve outlined. You’ll enjoy the convenience of conveying your bike, baggage, or kayak with a roof rack more than you’ll be using the trunk. Moreover, if you don’t have a roof rack but a kayak, you can transport your kayak without using a roof rack.


Leave a Comment