Defective valves, wear and puncture are usually the main causes of air leaks on inflatable boats. Air leaks happen all the time and you must be prepared to fix them. Many prefer to leave the work in expert hands. However, patching a single hole can cost more than $200.
So, why spend so much money on something you can do for yourself? Today, we’ll reveal all the secrets to repairing your precious inflatable boats with a little sum of money.
Table of Contents
Repairing Inflatable Boat: Find Air Leaks First
Finding air leaks may be quite complicated, especially if they’re too small. However, there’s a fairly practical method that allows you to detect even the smallest air leak with relative little effort.
This technique consists in applying a solution of soapy water on the surface of the boat. To prepare it, you should only mix equal parts of dishwasher and water.
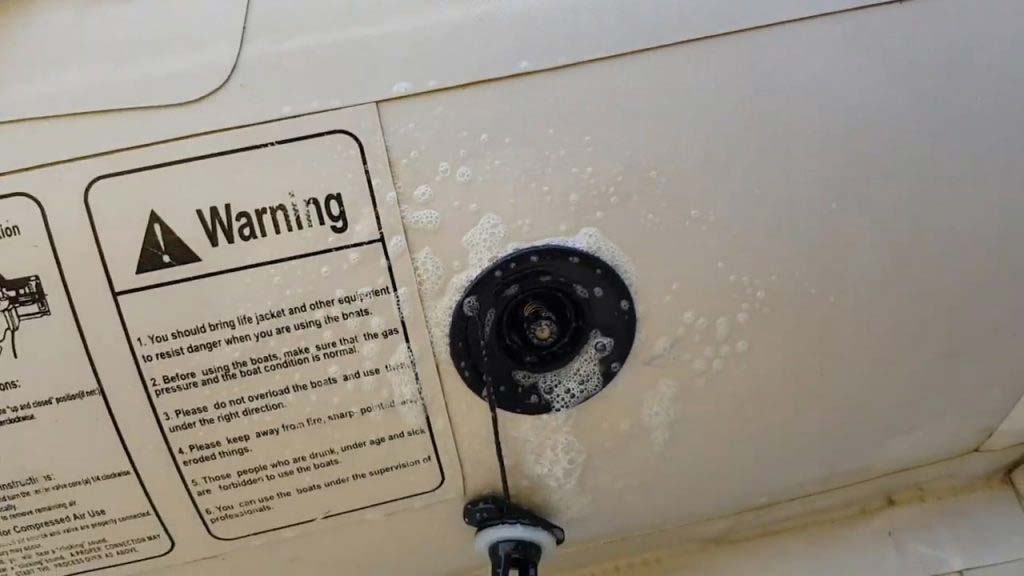
First of all, inflate your boat in a quiet place, where noise doesn’t interfere with your hearing. Then, pay attention to the whistles coming out from the boat. The point where the whistle is most intense indicates the exact location of an air leak.
But, if the whistle is almost imperceptible, it’s convenient to use soapy water. To apply it you can use a spray bottle, a sponge or a wet cloth. Bubbles will begin to appear in places where there are air leaks.
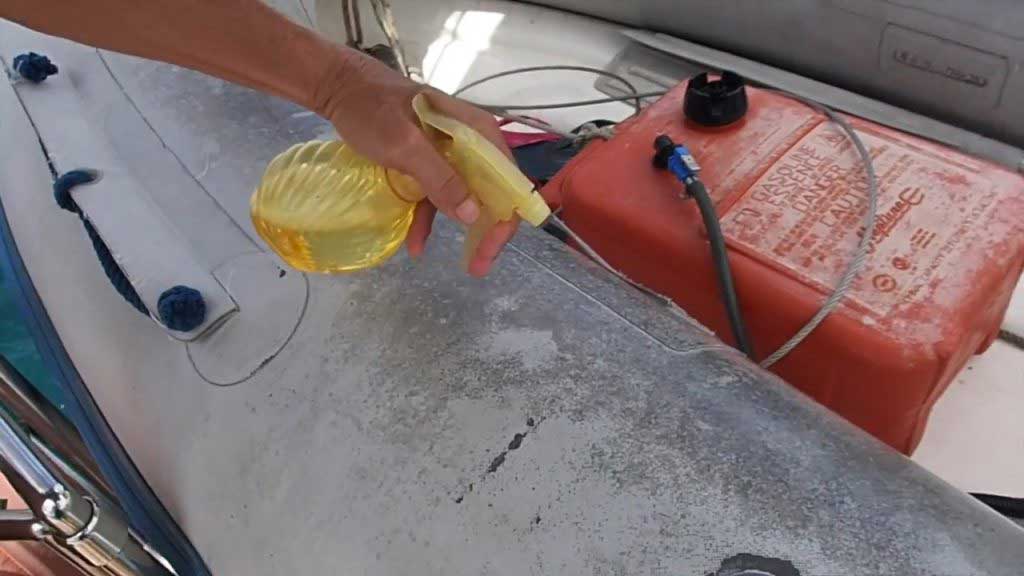
If you find an air leak, don’t stop. There are probably more air leaks in other places. You must fix them all at once so you can use your boat on safe conditions.
If the bubbles don’t appear on the surface after applying soapy water, probably the air leak comes from poorly fitted valves. To verify this, apply enough soapy water around the valves. Usually, the smallest air leaks appear at the edges of each valve.
The Most Common Materials Used on Inflatable Boats
Before starting the installation process, you must first know what material your inflatable boat is made of. That way, you can choose the right type of glue and patching material. The most used materials in the manufacture of inflatable boats are the following:
- PVC
- Polyurethane
- Hypalon
PVC is the cheapest material of all. It’s very resistant to external agents, but its surface tends to crack over the years. However, it can be easily repaired with glue. PVC inflatable boats differ from the rest by their glossy appearance.
Polyurethane is more flexible than PVC and better resists high air pressure. It’s also highly resistant and durable. Like PVC, it has a glossy aspect.
Hypalon is the best material of all. It has superior durability and its lifespan is over 20 years old. Usually, hypalon inflatable boats have a black or dark gray tone.
How to Fix Air Leaks on Inflatable Boats?
Fixing the Large Holes and Tears
To seal large holes on the boat surface you’ll need glue and patches. Here’s the procedure of how to do it:
step 1 – Mark the affected area. You can use a marker for this purpose

Step 2 – Deflate the boat
Step 3 – Cut a patch of the same boat material. It must have 30 mm of overlapping in every direction around the hole
Step 4 – Apply a first layer of glue on a face of the patch. You may use a 20 mm brush for this purpose
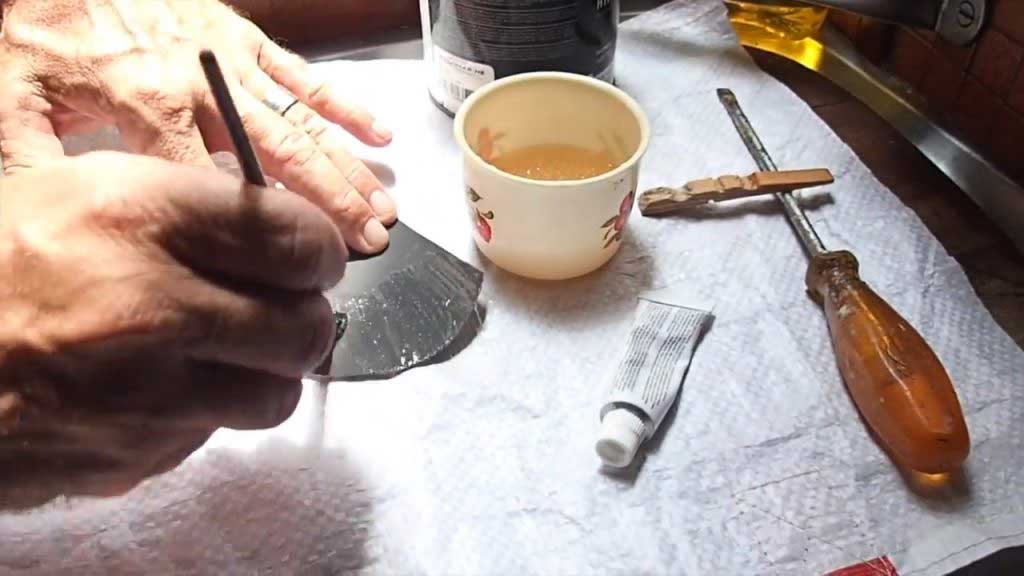
Step 5 – Wait at least 10 minutes for the glue to dry
Step 6 – Apply a second layer of glue on the same side of the patch
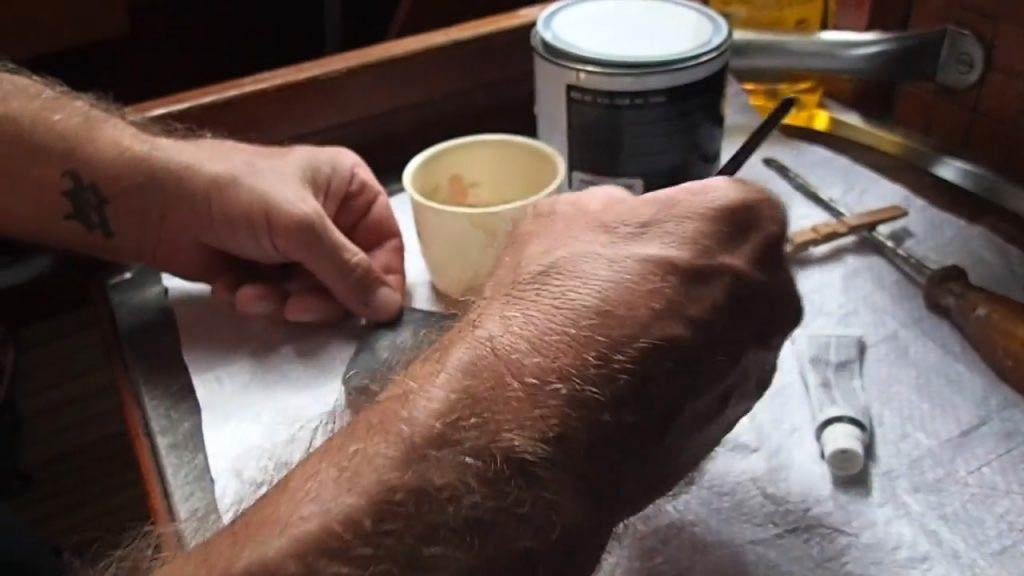
Step 7 – Then, apply enough glue on the hole, also covering the contact surface of the patch
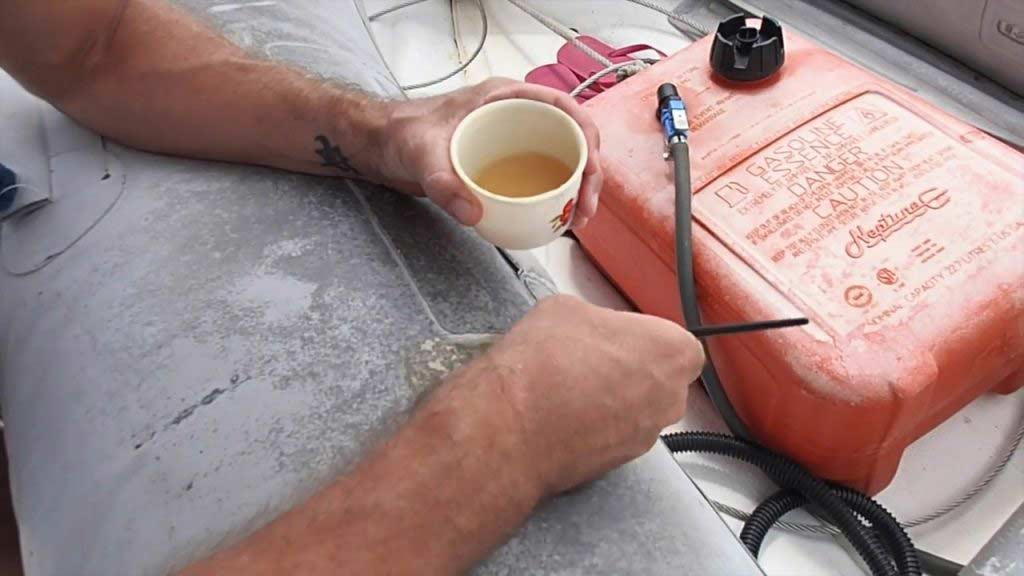
Step 8 – Wait for 5 minutes for the glue to dry
Step 9 – Stick the patch on the affected area, applying pressure with your hands
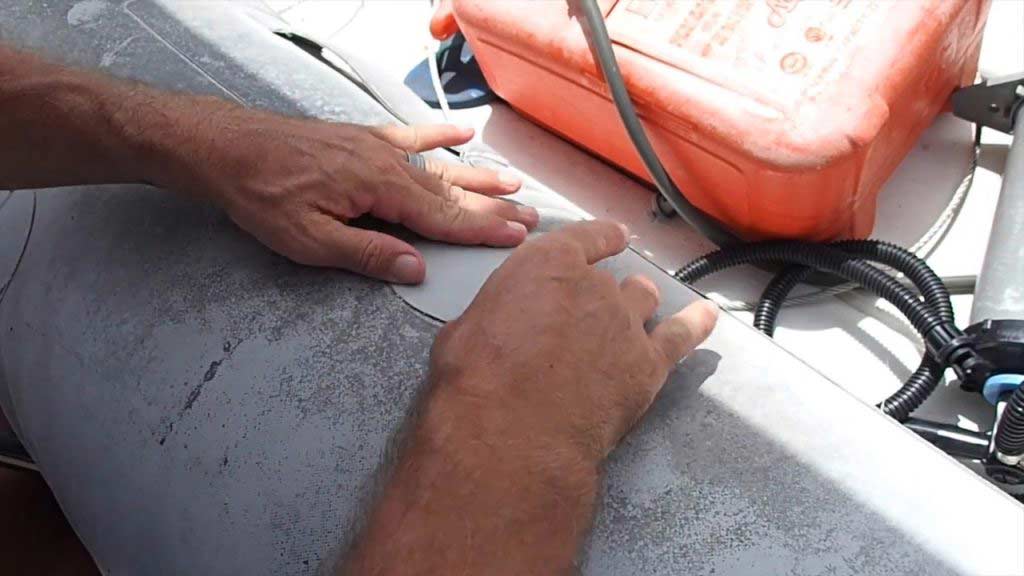
Step 10 – Wait at least 10 minutes for the patch to fix to the surface
Step 11 – Inflate the canister to prevent the glue from sticking the inner walls of the canister between each other
Step 12 – Place a flat object of 3-5 lbs weight on the patch. Wait 24 hours for the glue to completely cure\
Fixing the Small Holes
If the hole is small, you only need to apply glue to repair it. This is what you should do:
Step 1 – Mark the affected area
Step 2 – Deflate the boat
Step 3 – Rub a dry cloth on the surface to remove water drops or dust particles
Step 4 – Cover the hole with a drop of glue. In these cases, the glue should be thick enough to not seep into the hole
Step 5 – Wait at least half an hour for the glue to dry
Step 6 – Inflate the boat at ¾ of its maximum air capacity
Step 7 – Apply more glue on the repaired area
Step 8 – Wait 24 hours for the glue to completely cure
Fixing the smallest leaks
- Multiple small punctures
In case you find lots of small punctures, it’s more appropriate to use an inflatable boat sealant. To use this chemical, you must follow these steps:
Step 1 – Pour the recommended amount of sealant inside the air valve
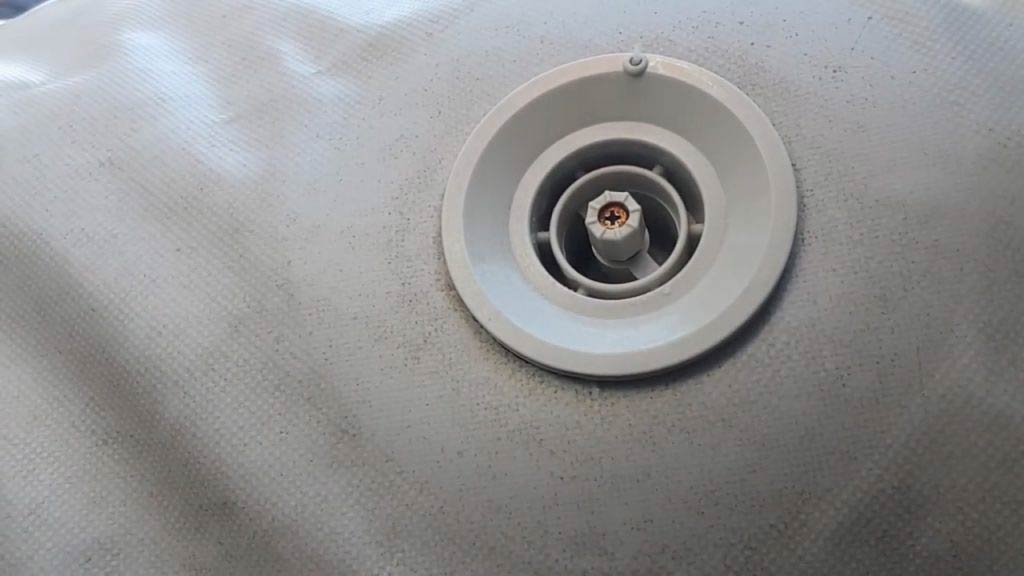
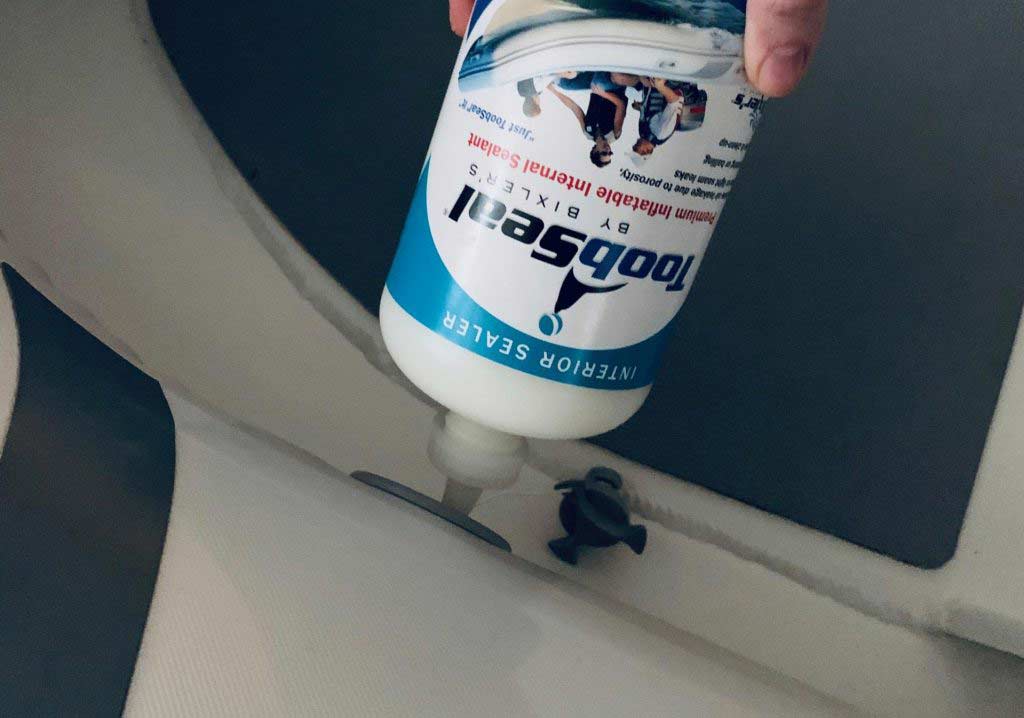
Step 2 – Rotate the boat several times, so the sealant spreads evenly over the inner walls of the chamber
Step 3 – Wait 24 hours for the product to completely cure
Step 4 – Apply the necessary amount of air to fully inflate the boat and verify there’s no more air leak by applying soapy water on the surface

Fixing leaks on air valves
To determine if the air leaking comes from the air valve, apply enough soapy water over the area and wait for the bubbles to appear. Usually, there are three areas from which air escapes. These are:
- From the valve perimeter
In this case, it’s probable that the air valve is poorly fitted. To solve the problem, you just need to detach the valve and clean the surrounding area. After that, reinstall the air valve and tighten firmly.
- From the cover cap
If the air escapes from the cover cap, you must apply glue, silicone sealant or inflatable boat sealant around that area. If the leaking comes from inside the opening, apply a single drop of glue on it.
- From the rubber seal ring
The accumulation of abrasive particles around the rubber seal may generate wear and slow air leaks. In this case you must detach the air valve and then remove the dirt and debris accumulated around the rubber seal ring. You can use an air blower for this purpose.
To remove the stuck dirt residues, apply a small dose of acetone using a cotton swab. Then, leave the air valve open so the acetone can evaporate.
If the rubber seal ring is too worn, a deep cleaning won’t solve the problem. Buying a new one is a better idea.
Fixing PVC Fabric Inflatable Boats
If the hole on a PVC boat is bigger than 75 mm, use two patches: one on the inside and the other outside. This way, the affected area is reinforced to better withstand the air pressure. Here’s the procedure of how to do it:
Mark the affected area Deflate the boat Cut two patches large enough to cover the hole. The patch must overlap the area 30 mm in every direction around the hole Mix the PVC adhesive and the hardener at a 25:1 ratio Rub a cloth dampened with PVC solvent on the affected area and on the first patch. This will remove the dirt from the surface, allowing better adhesion of the glue Apply a layer of glue on the patch and below the hole. Then, wait at least 30 minutes for the glue to dry Apply a second layer of PVC glue on each surface. Then, stick a polythene piece on the glue-covered face of the patch. This will allow you to roll the patch and insert it into the hole without problems Insert the roll into the hole. After that, flatten the patch and remove the polythene cover. Then, press the patch against the chamber walls to set it in place. Use a plastic smoother to remove any air bubbles Wait at least 6 hours for the glue to dry After that time, inflate the boat again and verify that there are no air leaks Cover the perimeter of the area reserved for the outside patch with the masking tape Leave 3 mm of clearance, so the patch can stretch while it dries Clean the patch and the affected area using a cloth dampened in PVC solvent Apply PVC glue on each surface. Then, wait at least 30 minutes for the glue to dry Apply a second layer of glue on each surface and then stick the patch over the affected area. Apply pressure for 5 minutes. Then, use a plastic smoother to remove air bubbles Then remove the masking tape around the area Wait at least 6 hours for the glue to dry After that, fill the chamber at maximum air capacity. Wait at least 7 more days for the glue to reach its maximum strengthWhat if the Air Leak Is Too Difficult to Find?
If you still can’t find the air leak after applying soapy water for the first time, try a couple more times. If there’s no bubbles, possibly the air leak is too small. In that case, it’s better to apply a considerable dose of inflatable boat sealant and spread it around the inner walls of the chamber.





Leave a Comment