
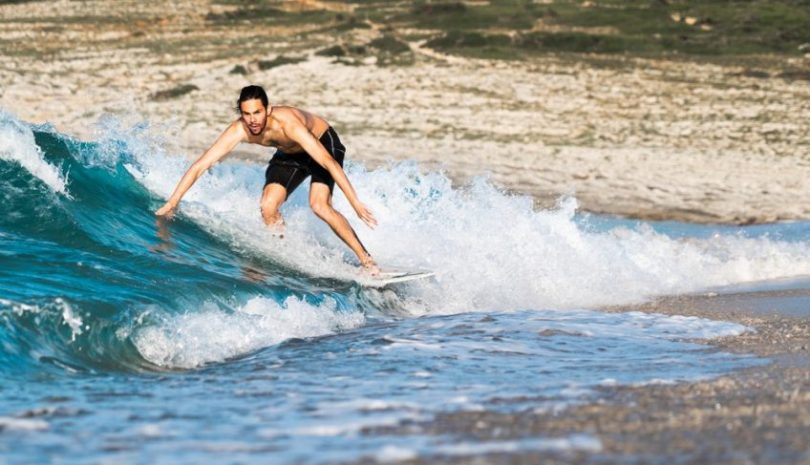
Just a decade ago, very few people knew what skimboarding was. But this younger sibling of surfing eventually caught the mainstream attention and went from “unknown” to “overnight sensation.”
Unlike the surfboards, skimboards are much smaller, have no fins, and are used to slide across the ocean’s surface to meet a breaking wave, and riding back to shore.
How to Make a Skimboard – Step-by-Step
We’re going to share with you all the information required to make your personalized skimboards. These instructions will bring out the disciplined lion in you, and help you get started using materials readily available in most utility stores near you.
Note: These instructions are for beginners and do not require professional-grade materials. In this article, we’ll share vital information to help boost your skimming experience.
Step 1: Tools & Materials You’ll Need
Here is a list of things that you will need before you start to make the skimboard:
- Get two one-quarter inch marine plywood boards: it is possible to use regular plywood, but the best material to use is the marine plywood
- A saber saw
- Titebond wood glue
- Polyurethane
- Paint sprayer
- Wax
- A few gravels of sandpaper
- Around twelve clamps
- A reel of duct tape or masking tape
Safety goggles are also essential when working with saws and tools that will have fragments flying around.
Step 2: Glue Your Boards
Smear the glue evenly through the board’s surface with the paint sprayer. Get the other plywood board you have and press it together, then clamp. To create a concave, add weight to the center of the board. Ensure you set the clamp in a way that you can add more weight to the board. Put something underneath the ends to suspend the board then place the weight in the center.
Step 3: Design the Patterns
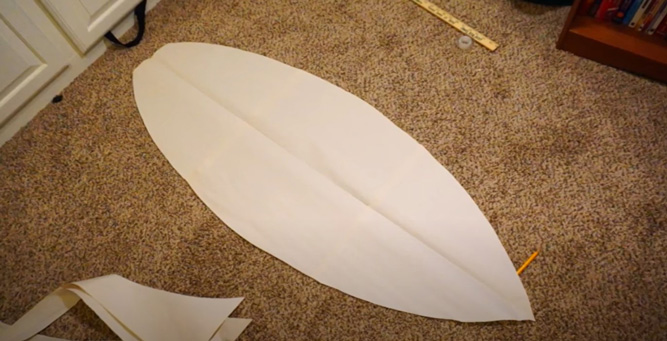
Since you have gotten the wood, place the personalized pattern, and trace around it. Although this can be influenced by personal preference. You can also get more ideas by visiting your local stores to observe the structure of the skimboard. When making a pattern, get a large piece of paper.
If you cannot find a paper long enough, get a few newspapers, and tape them together. To make sure that the board is symmetrically shaped, fold the paper in the middle and draw half of the pattern on the paper. Cut the pattern out and unfold to give a complete skim board pattern. You can now trace it on the wood. It is best to ensure that grains on the wood are going long.
Step 4: Cut Out the Shape
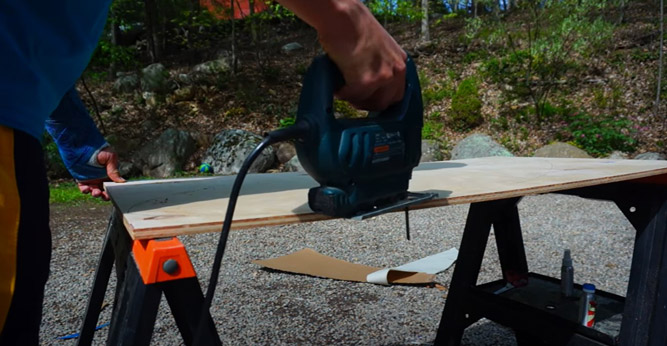
It is advisable to use an electric saber saw. If you don’t have one, ask around the neighborhood or, better still, make an effort to buy one, since it is not expensive. Cut the board out using the trace.
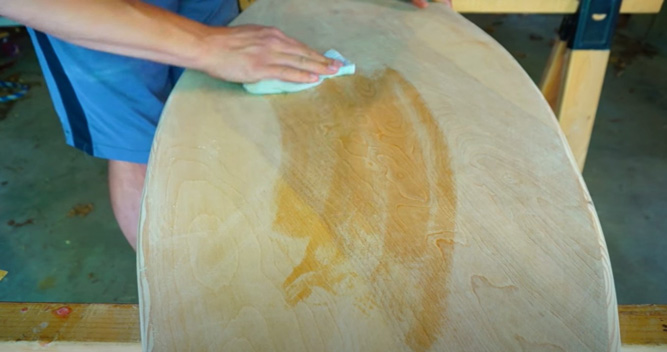
Step 5: Smoothen the Edges
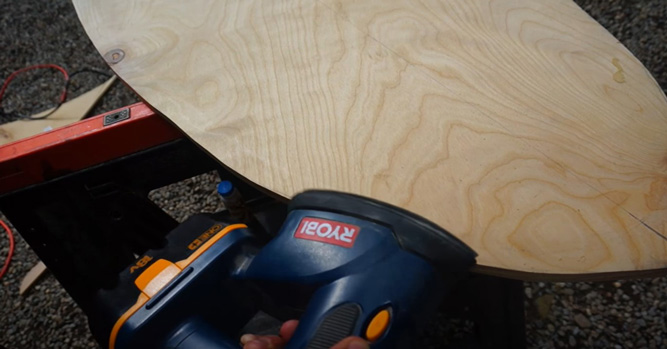
As soon as you cut the shape out, clean the marks made on the board. You can remove them with the sandpaper while using the forty-grit sandpaper to smooth all the edges. Using Hundred-grit sandpaper on the front and the back of the board will yield a better result. Ensure you have a smooth board with the help of the sandpaper.
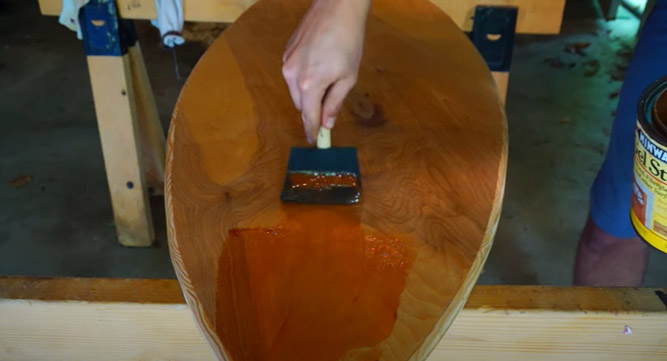
Step 6: Paint/Lacquer the Board
Apply a few layers of polyurethane on the bottom of the board. Ensure it’s thick enough; this part will rub against the sand. Sun dry it for some time, and paint the top. Painting is also influenced by personal preference. But it essential to make the board presentable.
Step 7: Apply Clean Coats
Use the polyurethane to brush the top of the board to protect the paint. This doesn’t have to be thick as the one you put in the bottom since it will not be rubbing against the sand. Now apply a few clean coats.
Step 8: Wax the Skimboard
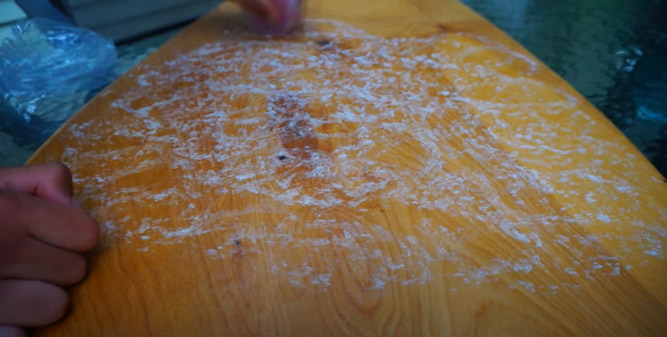
The bottom of the board needs waxing; we recommend using surfing wax. But if you’re on a budget, then you can consider using a regular wax.
Step 9: Test Drive Your Board
Since you are done with your DIY project, the next step is to test drive. DIY projects are something to behold. Show it off; it’s all yours.
Building a Wooden Skimboard vs. Fiberglass Skimboard
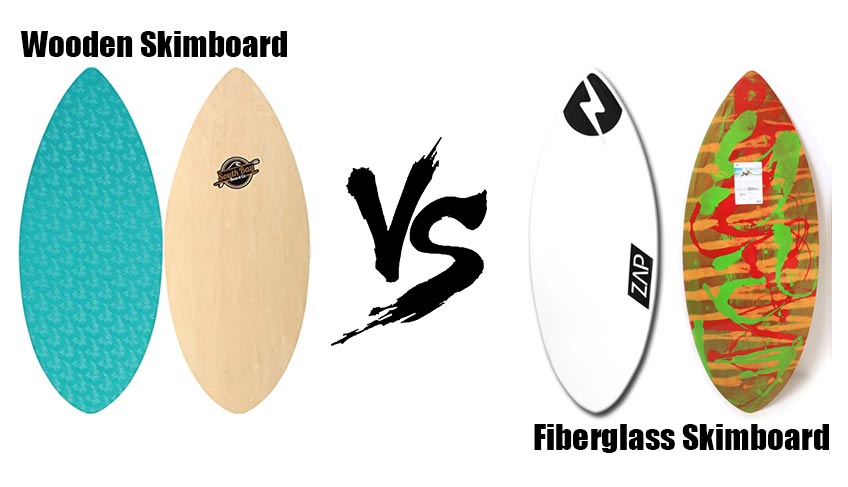
There are some variants of skimboards made of fiberglass, and before reading this article, we bet you’ve contemplated on either using fiberglass or not. In this section, we’ll explain some of the advantages and disadvantages of using fiberglass.
1. Fiberglass is waterproof, so; it can be a tempting advantage against the plywood variant. And even though polyurethane paint Is applied, it wears off with time.
2. Fiberglass is a strong material and can be durable for aggressive skimboarders. Plywoods will crack before fiberglass will. It can be safe to say that plywood boards can be just efficient for beginner skimboarders.
3. Fiber glasses do not have dings and scratches. Since skimboarding is on shallow parts of the water, the skimboard skims on the sand and can be like riding on sandpaper. Wood will get exposed after the paint is worn off. However, fiberglass does not wear off that easily. Without fiberglass, once you see scratches or paint coming off, all you need is to paint over the scratches. Check where you think water could also get in and paint over that also. When you are not using fiberglass, then it’s best to go with caution.
4. Fiberglass is a sturdy material. Mixing the resin can be pretty tricky just as doing the skimboarding tricks. After this, you only have a limited amount of time to work with. The accessibility to finishing resins also compounds the problem. Most found in popular stores remain tacky after they harden, making it harder to sand off; if you have never worked with fiberglass and resin before, then consider the beginner resins when starting!
Conclusion
Making a skimboard is one of the easiest DIY projects ever. Beginner DIY-ers should only try to use plywood boards to make their work more comfortable and to hone their skills. Be proud of the outcome of your effort! How many floaters are proud to float on a boat they themselves made?


Leave a Comment