Punctures, scratches and rips are the main cause of air leaks on float tubes. Things like these can happen if your float tube makes contact with sharp objects like stones, wood chips, barnacles and fishing hooks.
Therefore, you should be cautious and carry a repair kit with you on each trip. This way, no air leak will be an excuse to cancel your outdoor adventure.
Today, we’ll show you how to patch your precious float tube for fishing using the most appropriate materials and adhesives. You’ll also learn other procedures to repair small air leaks in a few minutes.
Patching a Float Tube: A Step-By-Step Guide
1. Find the air leak
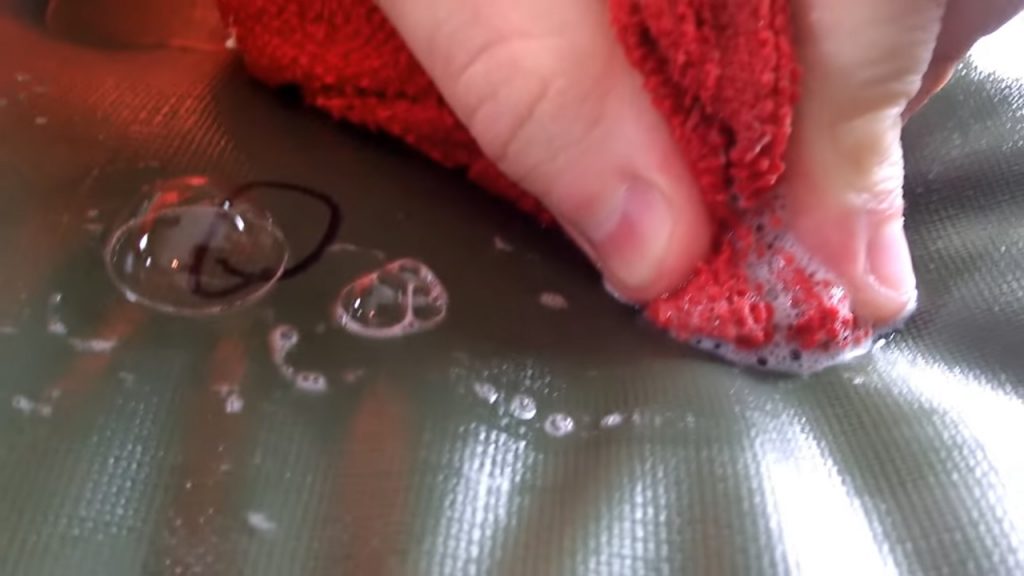
Before doing any fix, you should first identify the exact location of the air leak. And there are many ways to do it.
If the air leak is big, you’ll hear a slight hissing noise near the affected area. In order to find the leak, go to a quiet place to better hear the noise. However, if the air leak is too small, you may not hear any noise at all.
In that case, you’ll have to mix equal parts of water and dishwasher in a spray bottle. Then, spray the solution all over the surface of the float tube. Bubbles will appear in the affected area.
If you have a pool at home, you can also fill the float tube with air at maximum capacity. Then dip the float tube into the water and check where the air is escaping from.
2. Choose the right repair kit
Now that you know where the air leak is, it’s time to identify the material of your float tube. You can easily find it in the user manual or on the official website of the product. Most float tubes are made of vinyl, rubber, PVC or Hypalon.
The patch must be made of the same material of the float tube. Also, use an adhesive that is compatible with the material. Many people often use PVC adhesive to repair their float tubes. However, it isn’t 100% effective on all kinds of surfaces.
3. Prepare the area
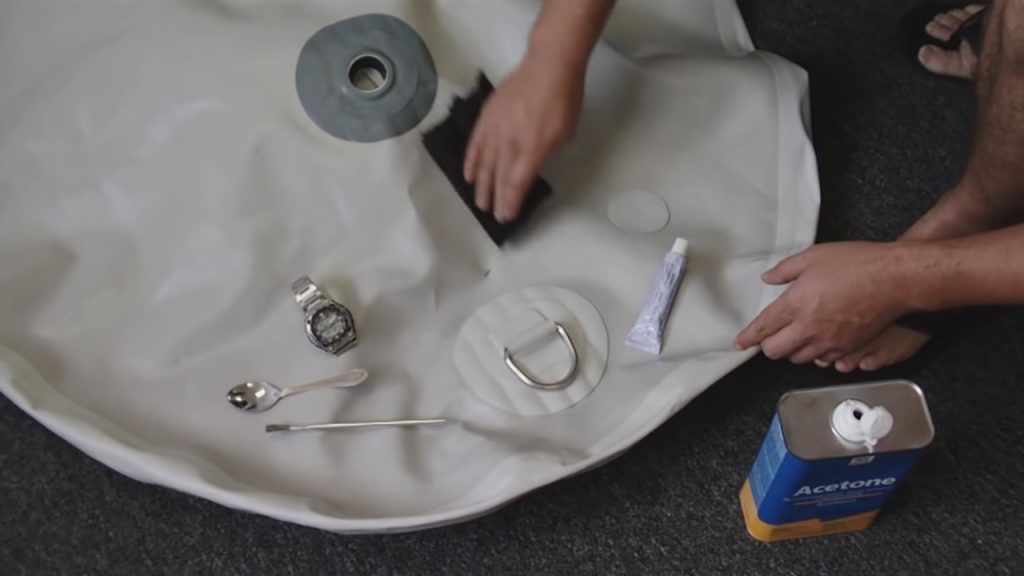
Before patching, completely deflate the float tube. Then, clean well the affected area to remove any dust residue on the surface. Dry well using a microfiber towel. You can apply isopropyl alcohol or PVC cleaner for better results.
Also start cutting the patch using a pair of scissors. The patch should be large enough to overlap the hole by at least 1 inch in each direction.
4. Begin repair
- Stick the patch in place
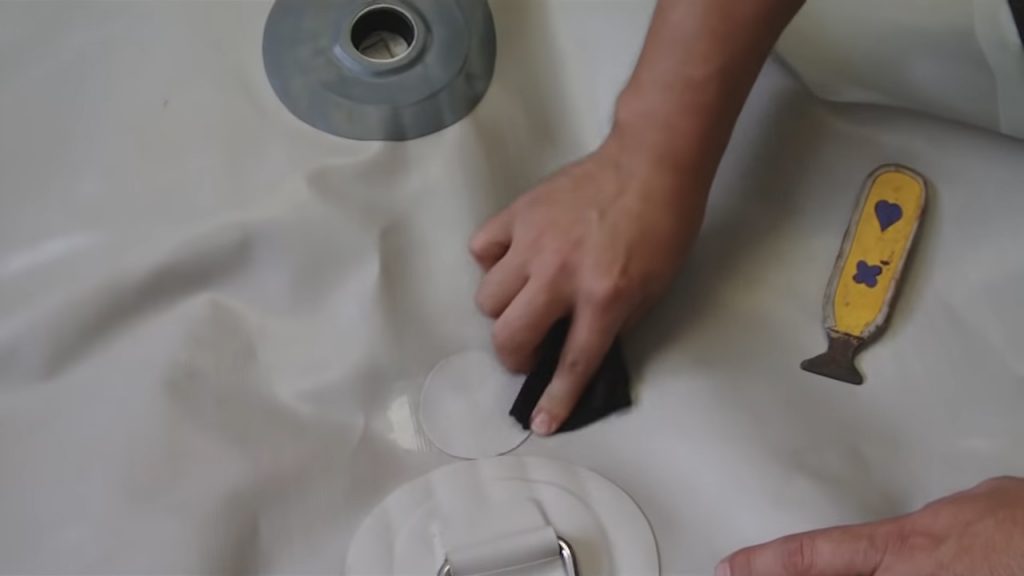
First of all, make sure there’s a little air left inside the chamber, so that the affected area is separated from the internal walls by at least 1 inch. Then apply glue to one side of the patch and wait 5 minutes. Meanwhile, apply glue to the affected area of ??the float tube.
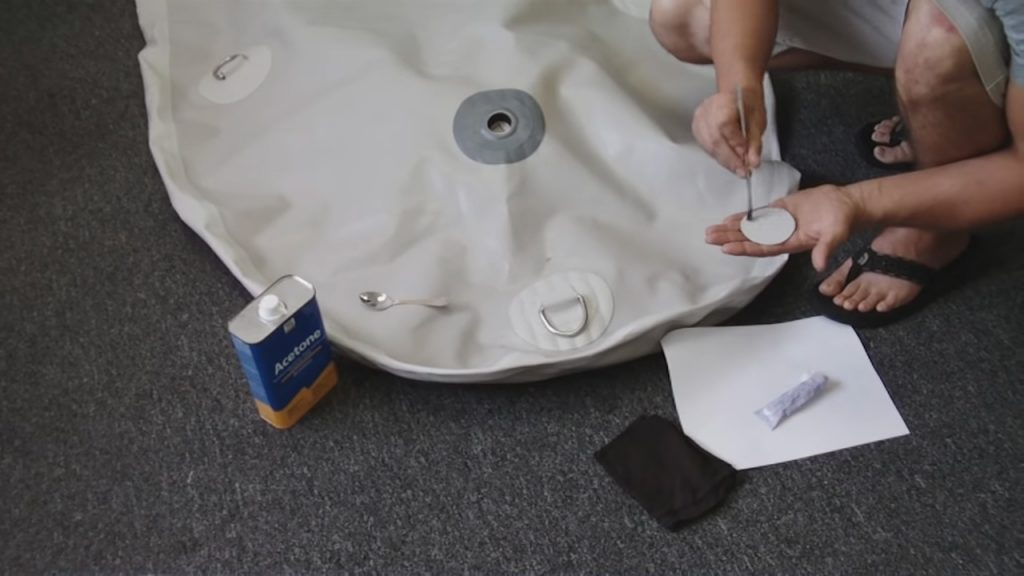
After 5 minutes, apply a second coat of glue on the patch surface. Then, stick the patch in place, applying pressure with your hands. You can use a small foam roller to remove any air bubbles trapped in the glue.
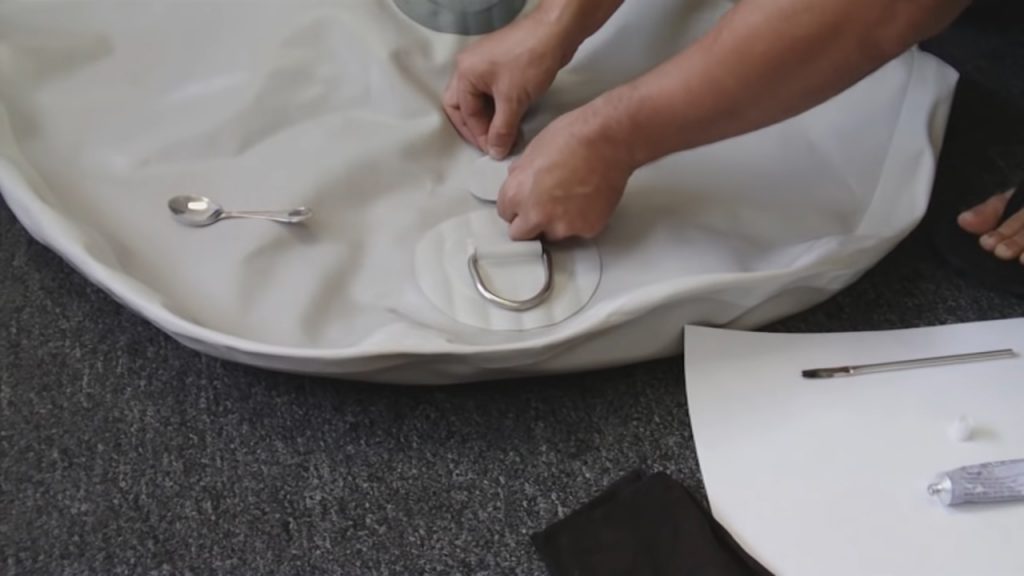
Wait at least 24 hours to fully inflate the float tube. Finally, wipe off the excess glue around the patch.
- Use sealants for too small air leaks
Sometimes the air leak is so small that it’s virtually impossible to find with soapy water. Air leaks around the air valve are also very difficult to find. In these cases, it’s better to opt for boat sealants instead of patches.
Boat sealants are liquid adhesives that leave a thin film on the inner surface of the chamber that prevents air from escaping. To apply boat sealants, you simply have to lift the air valve cap and pour the recommended amount of product into the valve. This is also applicable for the leakage in inflatable boats.
After that, move the float tube in different directions so that the product spreads evenly inside the chamber. Wait the necessary time for the product to completely dry. Finally, fill the float tube with air and verify that the problem is solved so you can start using your float tube again.
- Use Aquaseal
In case you have a urethane or vinyl float tube, Aquaseal is by far the best product to seal air leaks in these cases. Aquaseal provides a strong bond and is also waterproof. Usually it completely cures in 24 hours. However, you can speed up the process by adding a small amount of Cotol.
You can find both products in hardware stores. They’re very cheap and easy to apply.


Leave a Comment